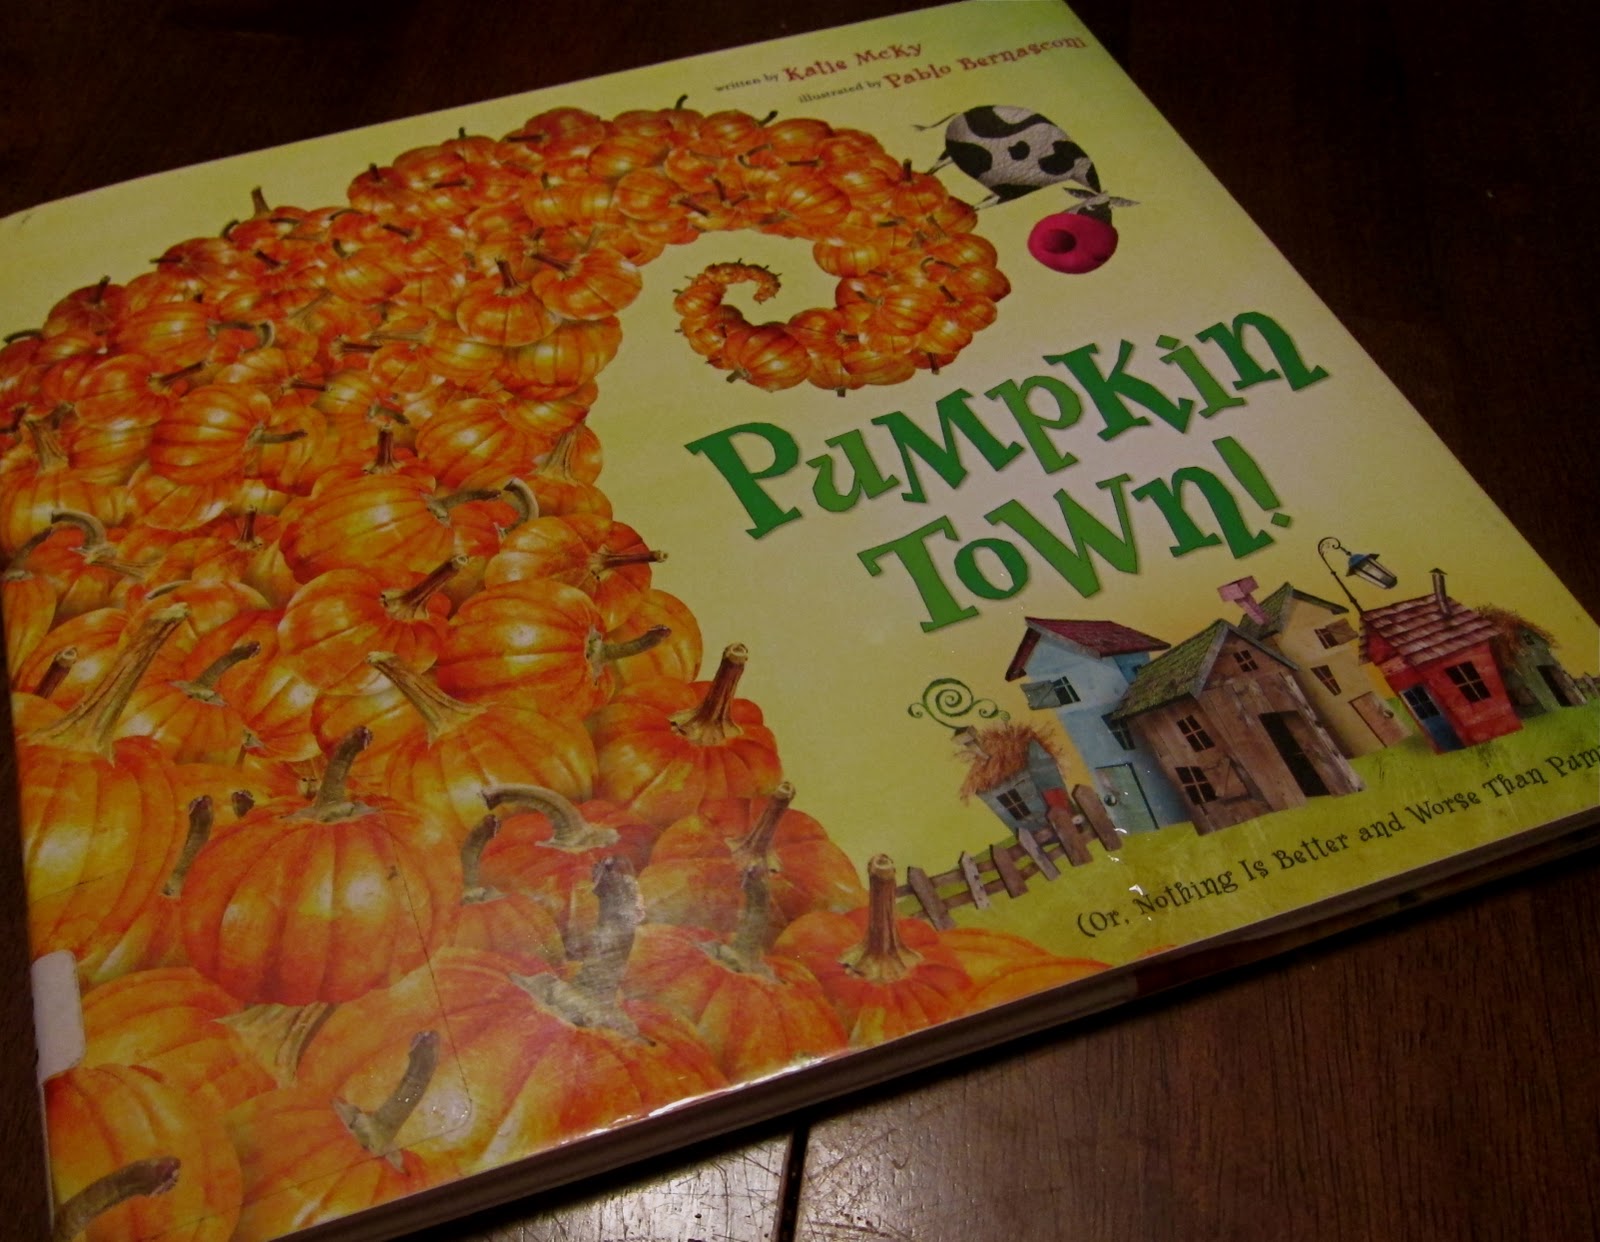
In preparation for our trip to the pumpkin farm later this week we are reading a couple pumpkin stories and today we read
Pumpkin Town! by Katie Mcky.
It's a cute story about five brothers who inadvertently sow a pumpkin patch in a neighboring town. Big Buddy really enjoyed examining the pictures which inspired us to craft our own pumpkin patch. We kept things simple with just seven steps using only our fists, paint, a marker, and a q-tip.
 |
| 1-make a fist |
 |
| 2- press fist into paint |
 |
| 3-press paint-covered fist to paper |
 |
| 4-admire your work |
 |
| 5-wash hands and wait for pumpkins to dry |
 |
| 6 - draw pumpkin stems with marker |
 |
| 7- paint vines with q-tips |
 |
Mini Man has been great about not eating paint lately but the q-tip was
too much temptation :) |
It was a lot of fun. I especially like that it was a craft they could do with little to no assistance (I did draw Mini Man's stems). Their fists were great for making pumpkins - they really captured the natural texture.
 |
| Mini Man's pumpkins patch |
 |
| Big Buddy's pumpkin patch |
PS. If you looking for more autumn theme ideas check our our
homeschool page.


These look like such a fun activity. I stumbled onto your blog and I just wanted to tell you how great your style it is. I especially like your red skirt.
ReplyDeleteYeah a new book recommendation! Looks like a fun book & I LOVE the art project. My kids would LOVE to squish in paint =-) I am starting a Linky Party if you want to link up at http://livinglifeintentionally.blogspot.com/2011/10/first-ever-linky-party.html
ReplyDeleteJust saw your post from Living Life Intentionally Linky Party. I love the craft. Thanks
ReplyDeleteHopping over from LLI LInky Party. I am going to look up that bok =-)
ReplyDeleteLove this! I'm going to pin it so I remember to do it!
ReplyDeleteToo cute! Love it! Will have to do this next week when we start our orange series!
ReplyDeletewww.ishouldscrapthat.blogspot.com
Oooh I have never seen pumpkins like this before. How brilliant! They look fabulous!
ReplyDeleteThanks as always for linking to Kids Get Crafty!
Maggy
Love this idea. I found you through “It’s Play Time” and made sure to pin this to Pinterest.
ReplyDeleteSo want to try : )
ReplyDeleteCute!! I love how these turned out!
ReplyDeleteGreat idea! I love that I've already got everything I need to do this at home too :) Stopping by from the Preschool Corner link-up, thanks for sharing!
ReplyDeleteOh my gosh, using the fists to make the pumpkins is absolutely brilliant! They look so realistic! Such a great idea! We just did pumpkin patch art this week too. :) I'm pinning yours on Pinterest and can't wait to give it a try next year.
ReplyDeleteWhat an adorable way to make a personalized pumpkin patch.
ReplyDeletemy boys would really like this activity. thanks for the suggestion!
ReplyDeleteGreat idea! We do a yearly handprint book and this would be a great addition! TY! :)
ReplyDeleteCute. Think I'll have to try this in preschool. I like the vines connecting the pumpkins, too.
ReplyDeleteYour little one is soo cute! Thanks for sharing with NOBH.
ReplyDeleteStefanie
I love this activity so much I pinned it.
ReplyDeleteThank you for linking to Read.Explore.Learn.
Those are really great pumpkins. The fingers really make it look better than just a blog of orange paint. That book looks like fun to read too. I am excited to reserve it from the library and read it to my kids as well. Thanks for sharing on Monday Madness. Hope you come back again tomorrow!
ReplyDeleteWhat great detail their fists give the pumpkins - looks like such a fun activity. And I love the green lips! Thanks for linking up! Hope to see you again this week!
ReplyDeleteHi, came over from Montessori Monday! What a cute idea and a great art activity for a variety of ages {which I am sure you need with three under four}
ReplyDeleteAdorable craft!! Love the hand washing too!
ReplyDeleteKerri
Hi, I found your blog via Montessori Monday and I think it is so resourceful. Your fist painted pumpkins are so great. My 2 year old son would be delighted to add this technique to the finger painting he adores. Looks like your kids had a great fun doing it ;-)
ReplyDeleteWarm hugs
Ewa
Oh my this is so cool!!! I am definitely pinning this for next year! Love the idea!
ReplyDeleteWhat a great craft! Thanks so much for linking up with Montessori Monday! I featured your post at the Living Montessori Now Facebook page and my Pumpkin Unit Study Pinterest board at http://pinterest.com/debchitwood/pumpkin-unit-study/
ReplyDeletethose pictures are fabulous - just look at their expressions! Priceless!
ReplyDeleteThanks for linking to the Sunday Showcase! Can't wait to see what you have in store for us this week! :)
Bern
http://momto2poshlildivas.blogspot.com/search/label/Sunday%20Showcase
I love doing this project each year! Thanks so much for linking up to Made by Little Hands last week, I am going to be featuring you tonight so I hope you come by, check it out and grab a feature button!
ReplyDeleteHope you had a great weekend!
Michelle
www.delicateconstruction.blogspot.com
These are so cute - we haven't done these yet. Thank you so much for linking up to our Autumn Blog Hop this year and look forward to exploring your blog more.
ReplyDeleteThese fist pumpkins were so much fun! My 2 1/2 and 4 year old did them to practice the letter P.
ReplyDeletehttp://brainstorminbloom.blogspot.com/2012/11/perfect-letter-p-single-stem-idea.html
We also did them for my 5 year old's Fall Party for his kindergarten class. We read the story Five Little Pumpkins and then for one of the centers they made paper fences and then did the fist pumpkins on top.
I just couldn't get enough of the idea - they made such great pumpkins!
Thanks!