One of my favorite wintertime picture books is the the Caldecott winner, Owl Moon. The illustrations are, of course, fantastic but I also enjoy the excitement and magic the the girl in the story feels for this "adventure" with her father. All three of my children sat with anticipation as I read it too them. They also, all three of them, now want to go owl hunting. Especially Little Lady - I think she's asked me over a dozen times when we get to go.
After finishing the story we looked up the Great Horned Owl in our Encyclopedia of North American Animals to learn a little more about them. The boys were very impressed that it has such sharp talons and that it dares to eat skunks....boys :) After we finished our research, we set out to make our own Great Horned Owls out of a lunch sack.


After finishing the story we looked up the Great Horned Owl in our Encyclopedia of North American Animals to learn a little more about them. The boys were very impressed that it has such sharp talons and that it dares to eat skunks....boys :) After we finished our research, we set out to make our own Great Horned Owls out of a lunch sack.
Our supplies: paper lunch sack, two newspaper sheets, glue, brown/black markers, scissors, brown/black/yellow construction paper.
Step 1: draw wings on the brown paper, eyes on the yellow paper, and pupils on the black paper.
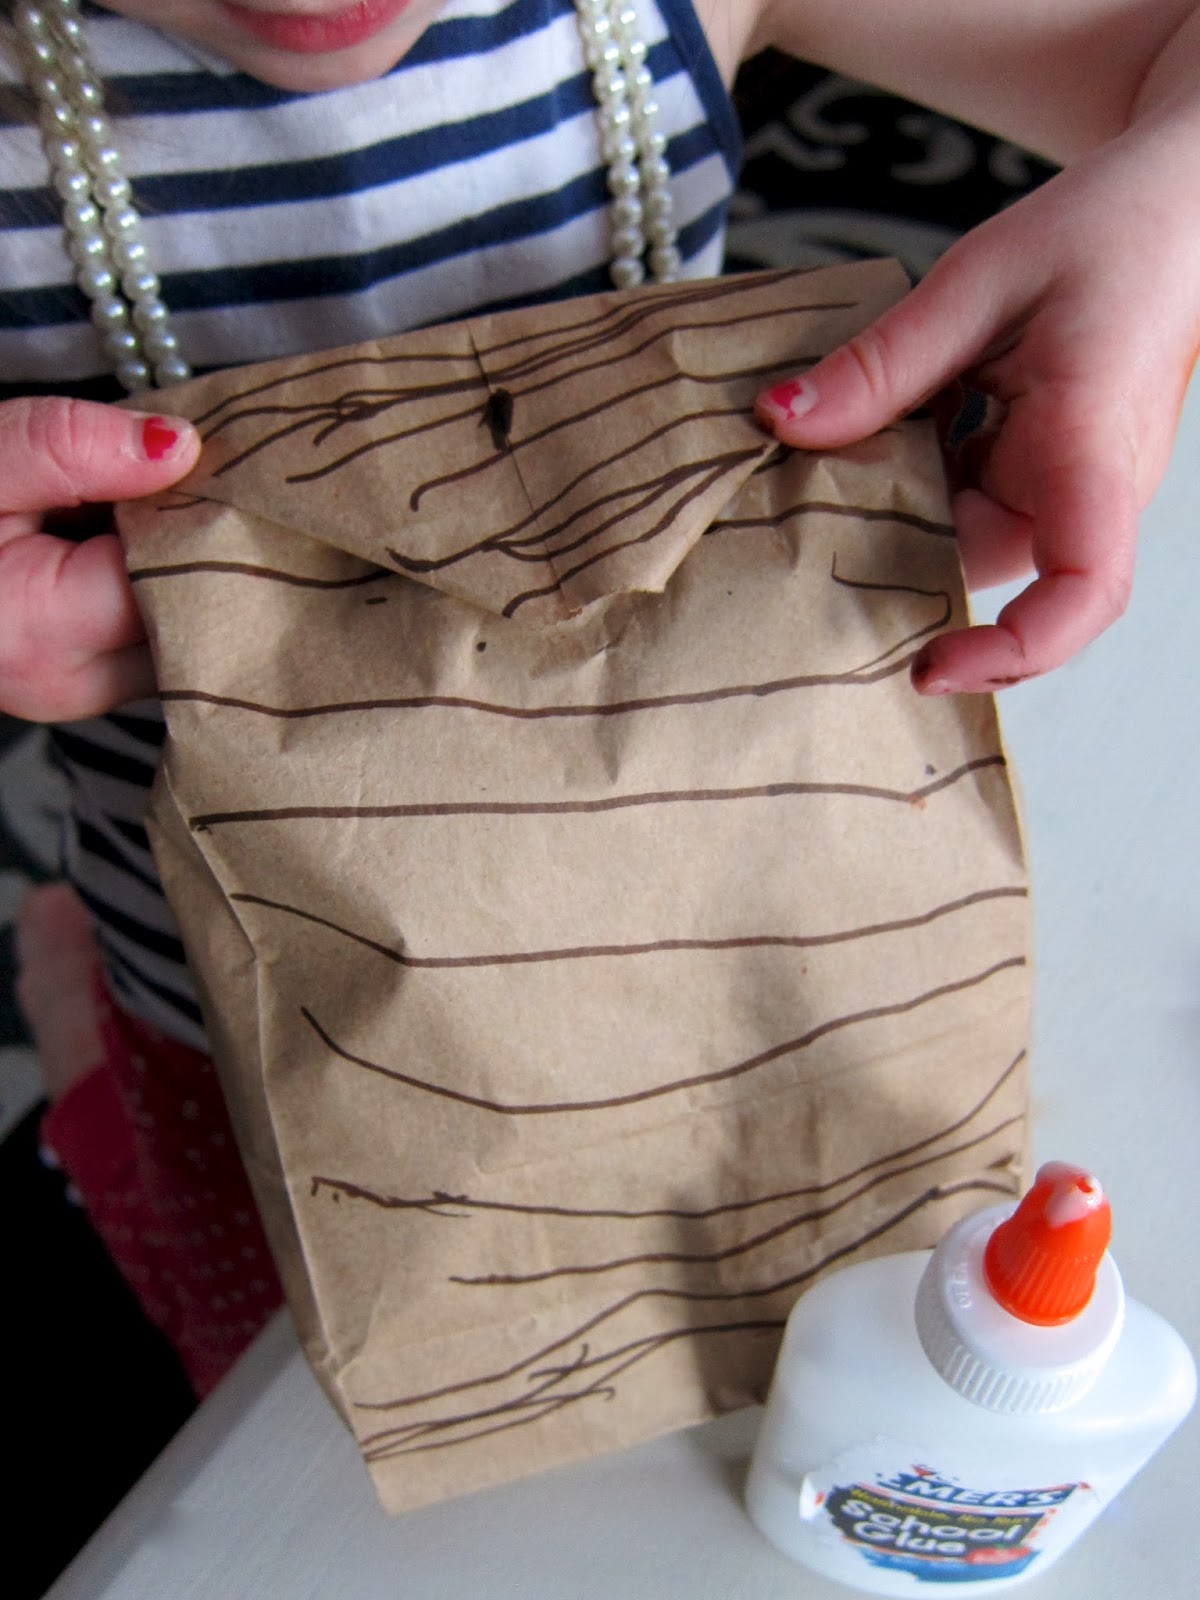
Step 2: use brown and black markers to add mottles/stripes to the plumage.
Step 3: cut out wings, eyes, and pupils.
Step 4: crumble up paper and stuff it into the bag.
Step 5: bend corners of bag opening and glue down.
Step 6: fold all of the bag opening down to create a triangle.
Step 7: glue wings to the back of the bag.
Step 8: then glue eyes and pupils right under the triangle you made earlier.
Once everything is dry, you'll have your own stuffed owl. If you are looking for another activity to go with this book, you can take turns hiding your owls and having your own pretend owl hunts.
For more winter themed book activities be sure to check out our Snowy Day post. You can also find more winter themed activities on our homeschooling page.
Lots more great kid friendly ideas can also be found at these link parties: Link and Learn, Weekly Kid Co-op, Montessori Monday, Hip Homeschool Hop, Preschool Corner, For the Kids Fridays, and Show and Share Saturday.
These are adorable! I love them!
ReplyDeleteLove, love, love these. :)
ReplyDeleteSoooo cute!! :)
ReplyDelete