
Wet Chalk Drawings

Drawing with wet chalk is not only a fun art activity but also provides and interesting sensory experience. The texture of chalk changes when it is wet and becomes much smoother and more paint like. The color of wet chalk is also more vibrant. 


This activity is a great for last minute crafting because the supplies and prep work are very simple. 

Our supplies: chalk, small cup of water, black construction paper, hair spray (optional) 


Step #1 dip chalk in water

Step #2 use wet end of chalk to draw desired picture. Re-dip chalk frequently.

depending on how hard you push  you can build up layers with wet chalk to
 create interesting textures. 

mini man's fine motor skills are still developing so he frequently will ask to
use stencils when he has something particular in mind he wants to create. 

Step #3 (optional) spray finished drawing with hair spray. This sets the chalk and prevents future smearing. This trick will also work on dry chalk pictures.

MINI MAN'S: even when using stencils mini man has taken to adding his own details like the tires and lights
on this car. the 'M' is all him. we wrote "race car" together using the hand over hand technique. 

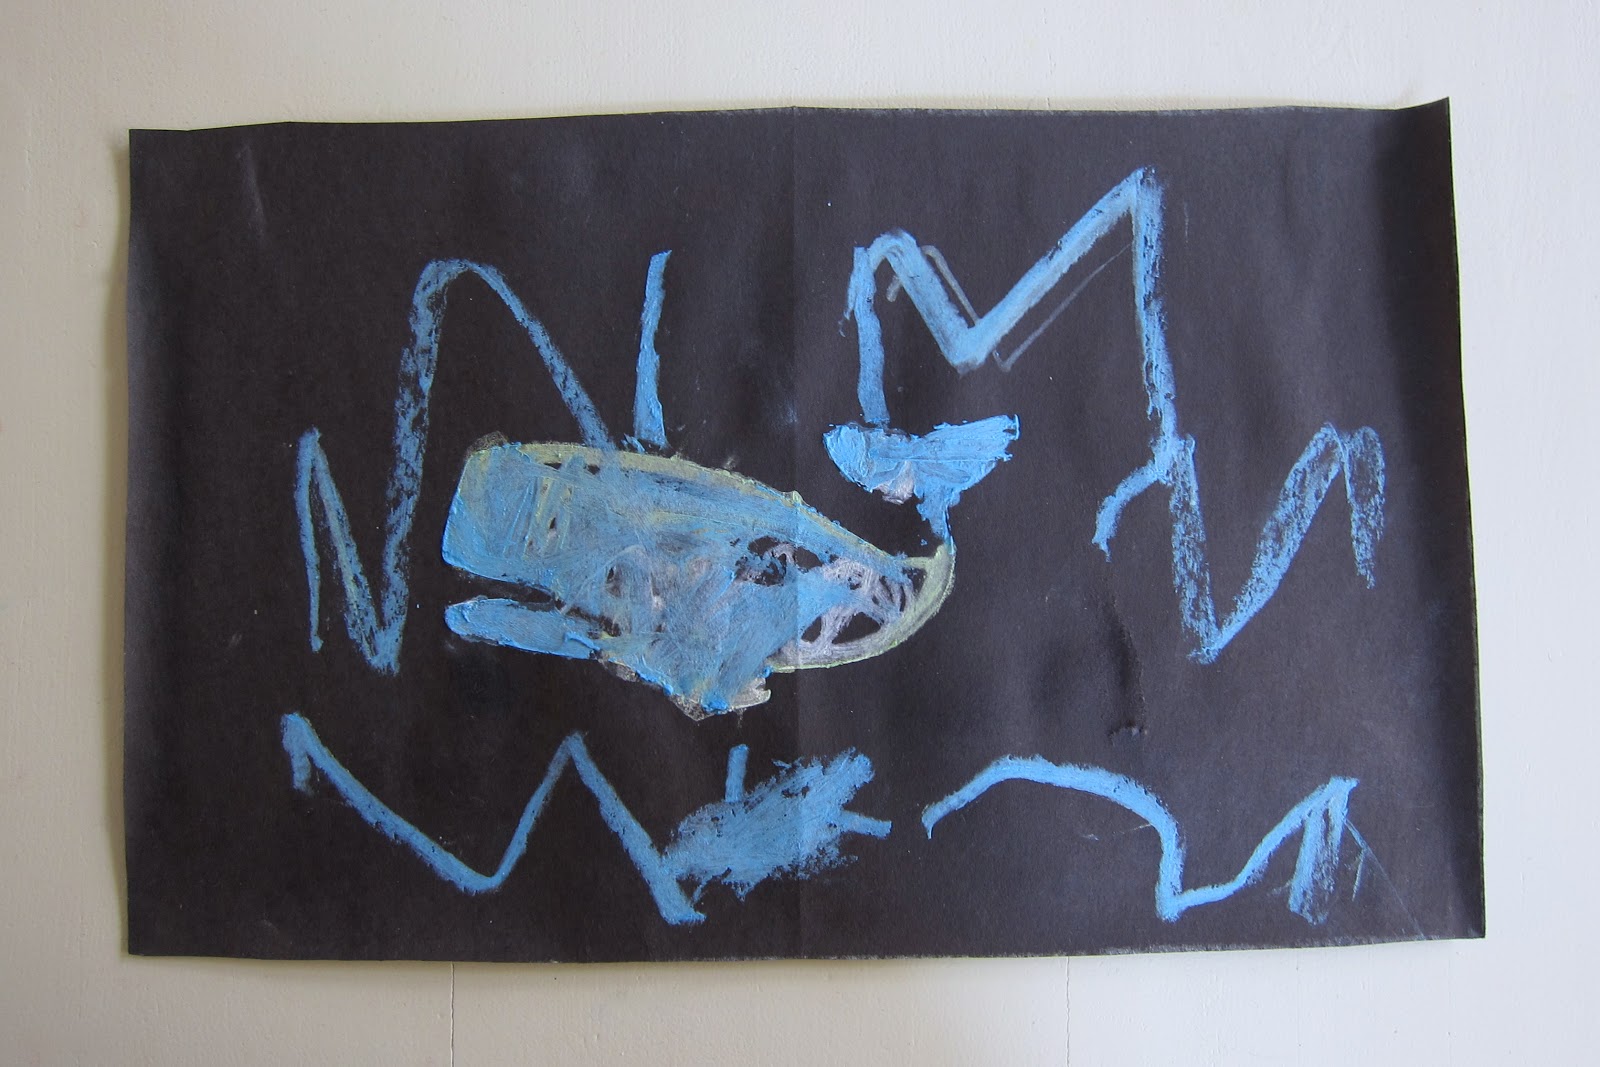
MINI MAN'S:  he used a stencil to draw the big whale,  i love the extras that he added like the water spout and
the baby whale, "so the mama whale wouldn't be lonely".  when i pointed out that his 'M' looked like
waves he decided to draw more. 

BIG BUDDY'S almost all his drawings currently look like this: swords and maybe a dinosaur or two. 

You can also use this technique outside with sidewalk chalk. You may also want to try our homemade sidewalk chalk paint

Looking for more homeschool or craft ideas? Check out these link parties: Link and Learn, Made by Little Hands, Montessori Monday, Hip Homeschool Hop, Preschool CornerFor the Kids Fridays, and Show and Share Saturday.

Follow my blog with Bloglovin

Comments

Popular posts from this blog

A Little Red Cardboard Barn

We've finished our farm unit and are moving on to a new theme tomorrow - but before we do I wanted share the barn we made. The wooden farm animals came with a beautiful handmade ark that we gave Big Buddy for Christmas a couple years ago.  I would someday love to have a wood barn but it's currently not in the budget. So in the mean time we decided to improvise and make our own.  I stumbled upon this perfectly sized milk box (4 gallons per box) while subbing and thought it would be sturdy enough to handle play. Hubandie and the boys used an x-acto knife and wood glue to build a barn shape. to get the doors to fold out hubandie used an x-acto knife and scored the inside of the cardboard We then painted with a basic primer and outlined a window and a door with painters tape. cardboard is very porous so priming is a must if you want decent coverage Big Buddy however insisted that we add more windows so it looked like the barn in our book The Big

Preschool Syllabus: Dr. Seuss

Normally I'd do a Dr. Seuss unit in March around his birthday. We had to do one now though because on Saturday Big Buddy and I going on a date to a  Dr. Seuss exhibit . The exhibit is only at the museum until January and I'm afraid if we don't go now we might not get the chance. We are of course reading lots of Dr. Seuss's books. A great advatage to studying Dr. Seuss in November rather than March is that all his books were available at the library. I also found a great children's biography which is perfect for preschoolers. Pebble First Biographies: Dr. Seuss  We've read it a couple times and Big Buddy loves reciting all the facts he's learned WRITING CENTER ADDITIONS big buddy's name in sand paper letters, coloring pages  & mazes from seussville.com skills practiced: fine motor, letter recognition, creativity,  reading comprehension LEARNING "TRAYS" -   I rotate these, setting out about four a day from which the boy&#

Jack-O-Lanterns on the Fridge

Last fall I saw the idea for refrigerator pumpkins with face pieces in FamilyFun Magazine  and have been anxious to recreate them ever since. It was pretty quick and easy and since the only thing we didn't have on hand was magnetic sheets ($1.50 with coupon at Joann's) it was also very cheap. my supplies: magnetic sheets, orange & black construction paper, white pen, tacky glue *i know they have self adhesive sheets but my Joann's didn't carry them   glued (very messily) and ready to cut Both the boys were quite enthused when they discovered them after rest time :) Hopefully it will keep them entertained until we carve real pumpkins.