For me the holidays are the perfect excuse to bake and consume large amounts of sugar. But at our house, when mommy is in the kitchen, everybody is in the kitchen...and our kitchen is tiny. So I thought it best to come up with a fun way to keep little hands busy. The boys really enjoyed the pumpkins I made for our fridge in October so I knew they'd love a Christmas tree and this time, I took it up a notch by turning it into a game.

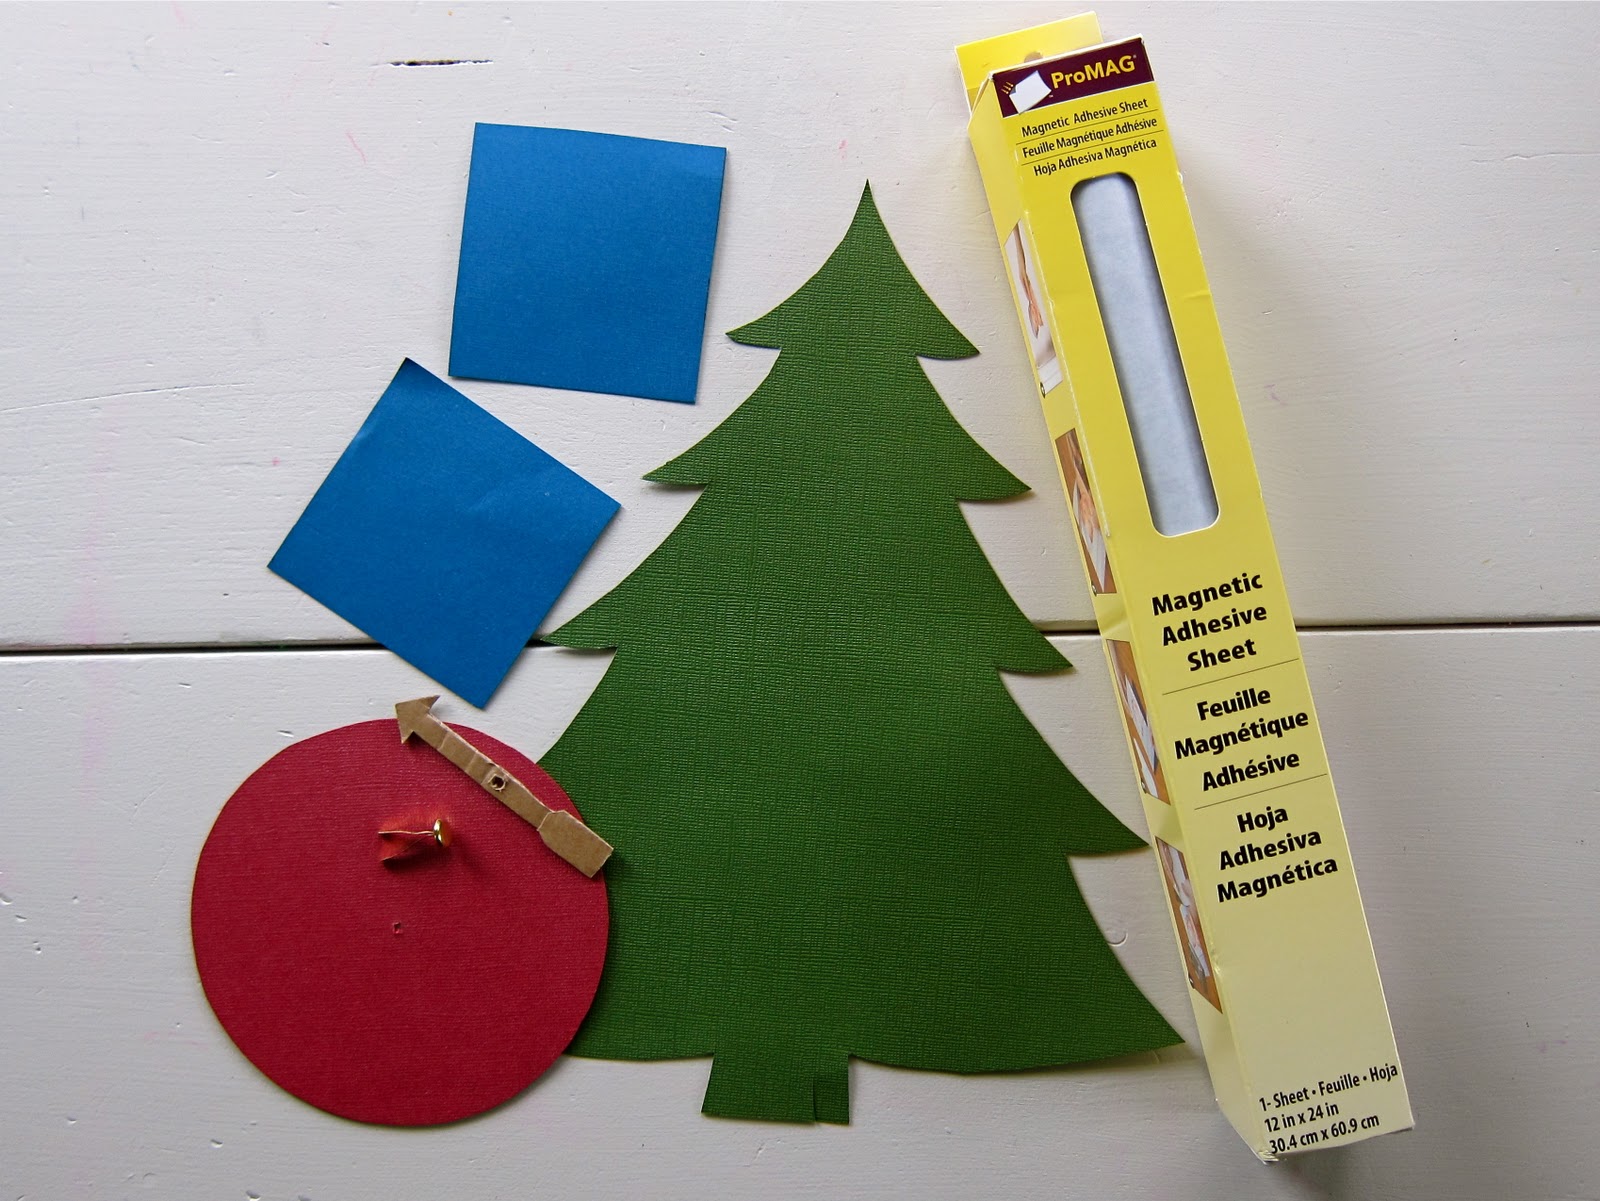 |
| for our "game board" i cut a tree, boxes & a circle out of scrapbook paper. the arrow is from scrap cardboard and secured to the circle with a paper fastener. i then stuck everything to a magnetic adhesive sheet. |
 |
| the "game pieces" are simply scrapbook embellishments stuck to magnetic disks *i used the magnetic disks instead of an adhesive sheet because they are a stronger magnet* |
 |
| [close up of the spinner] since my boys are 2 & 4 i kept it pretty simple *you may notice i cut a wedge our of the arrow, this was done so it it was weighted evenly when hanging in a vertical position* |
 |
| it's brought out a little of big buddy's competitive spirit |
 |
| the poor guy - he really dislikes it when he has to return a piece |
 |
| [finished game] big buddy almost always wins, lucky for us mini man is just happy to play |
Lots more great kid friendly ideas can also be found at these link parties: Link and Learn, Weekly Kid Co-op, Montessori Monday, Hip Homeschool Hop, Preschool Corner, For the Kids Fridays, and Show and Share Saturday.
What a SUPER cute idea! I love that it is somewhere eveyone will think to use it & you can do it again and again! AWESOME! Thanks for linking up to TGIF! See you next week,
ReplyDeleteBeth =-)
This is a wonderful idea!!!
ReplyDeleteSUPER idea!!! We do a roll a dice game to decorate the tree - but I love the idea on the fridge. Thanks for sharing, stopping by from TGIF!
ReplyDelete~Bekah @SonshineTotSchool.blogspot.com
Looks fun! Thanks for sharing...stopping by from Sun Scholars link up.
ReplyDeleteGreat idea! My son loves trees, so I'll have to try this game with him.
ReplyDeleteHaving stuff for the kids to do in the kitchen always helps while mama is cooking and cleaning! Thanks for the idea :)
ReplyDeleteRachel, I love looking at your blog! You have SUCH beautiful home and family :) I couldn't help but think of this picture http://2.bp.blogspot.com/_S8YqxBekDaE/S6aHMJQBM0I/AAAAAAAAGGA/IKnx-5XozVs/s1600-h/JosBlog29.jpg , when I saw your pic of Josiah with his sad face by the fridge hahaha. WHAT a pouty face, I love it :)Have a great Christmas!
ReplyDeletewhat a great activity! This could be done so many ways! Thanks so much for sharing!!
ReplyDeleteHeidi-he has definitely mastered the pouty face :) Thanks for sharing that link, we love all the pictures Ryan took and are so thankful we got to be his guinea pigs.
ReplyDeleteThis is such a cool idea. Love it!
ReplyDeleteStopped by from Crafty Moms Share.
What a great idea! Thank you for sharing at Sharing Saturday!
ReplyDeleteSuch a fun idea! I am pinning this one.
ReplyDeleteI would love to have you come link up to my Handmade Holiday party.
http://cupofdelight.blogspot.com/2011/12/link-party-delightfully-handmade.html
I just wanted to let you know I featured this at this week's linky party - http://livinglifeintentionally.blogspot.com/2011/12/tgif-linky-party-9.html - So pop on over, grab your Featured Button & don't forget to link up this week!! Thanks again for sharing your creativity with the rest of us!!
ReplyDeleteBeth =-)
What a good idea :) Stopping by from TGIF.
ReplyDelete~MiaB
www.mamamiasheart2heart.com
We will also do it. Im sure kids will love it.
ReplyDelete